
New article
Recently updated
Configuring Trusted Clients

Who is this article for?Users looking for trusted client permissions.
System Administrators can assign users as trusted clients.
Using trusted clients in Please Review involves designating specific individuals or entities as "trusted" within the software. Trusted clients typically have special privileges or permissions that allow them to bypass certain restrictions or security measures, enabling a more streamlined and efficient document review and collaboration process.
1. Configuring Trusted Clients
1.1. Video
1.2. Steps
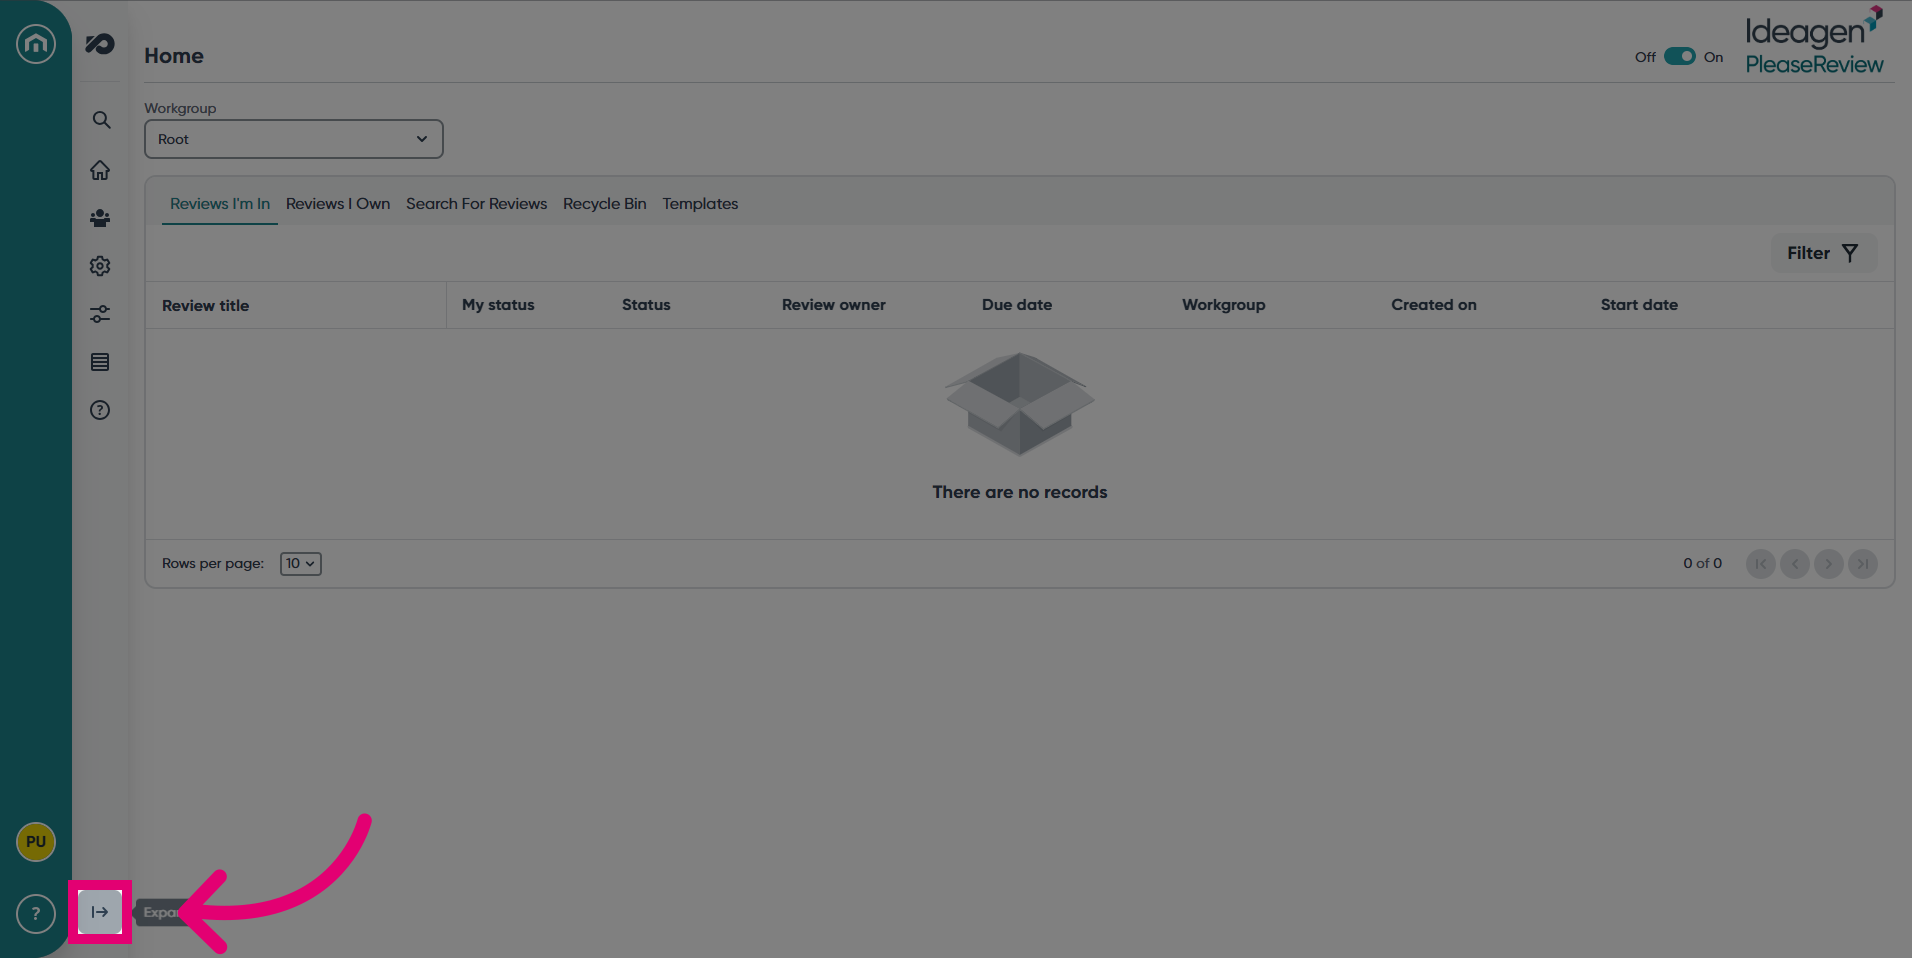
- Expand the navigation bar.
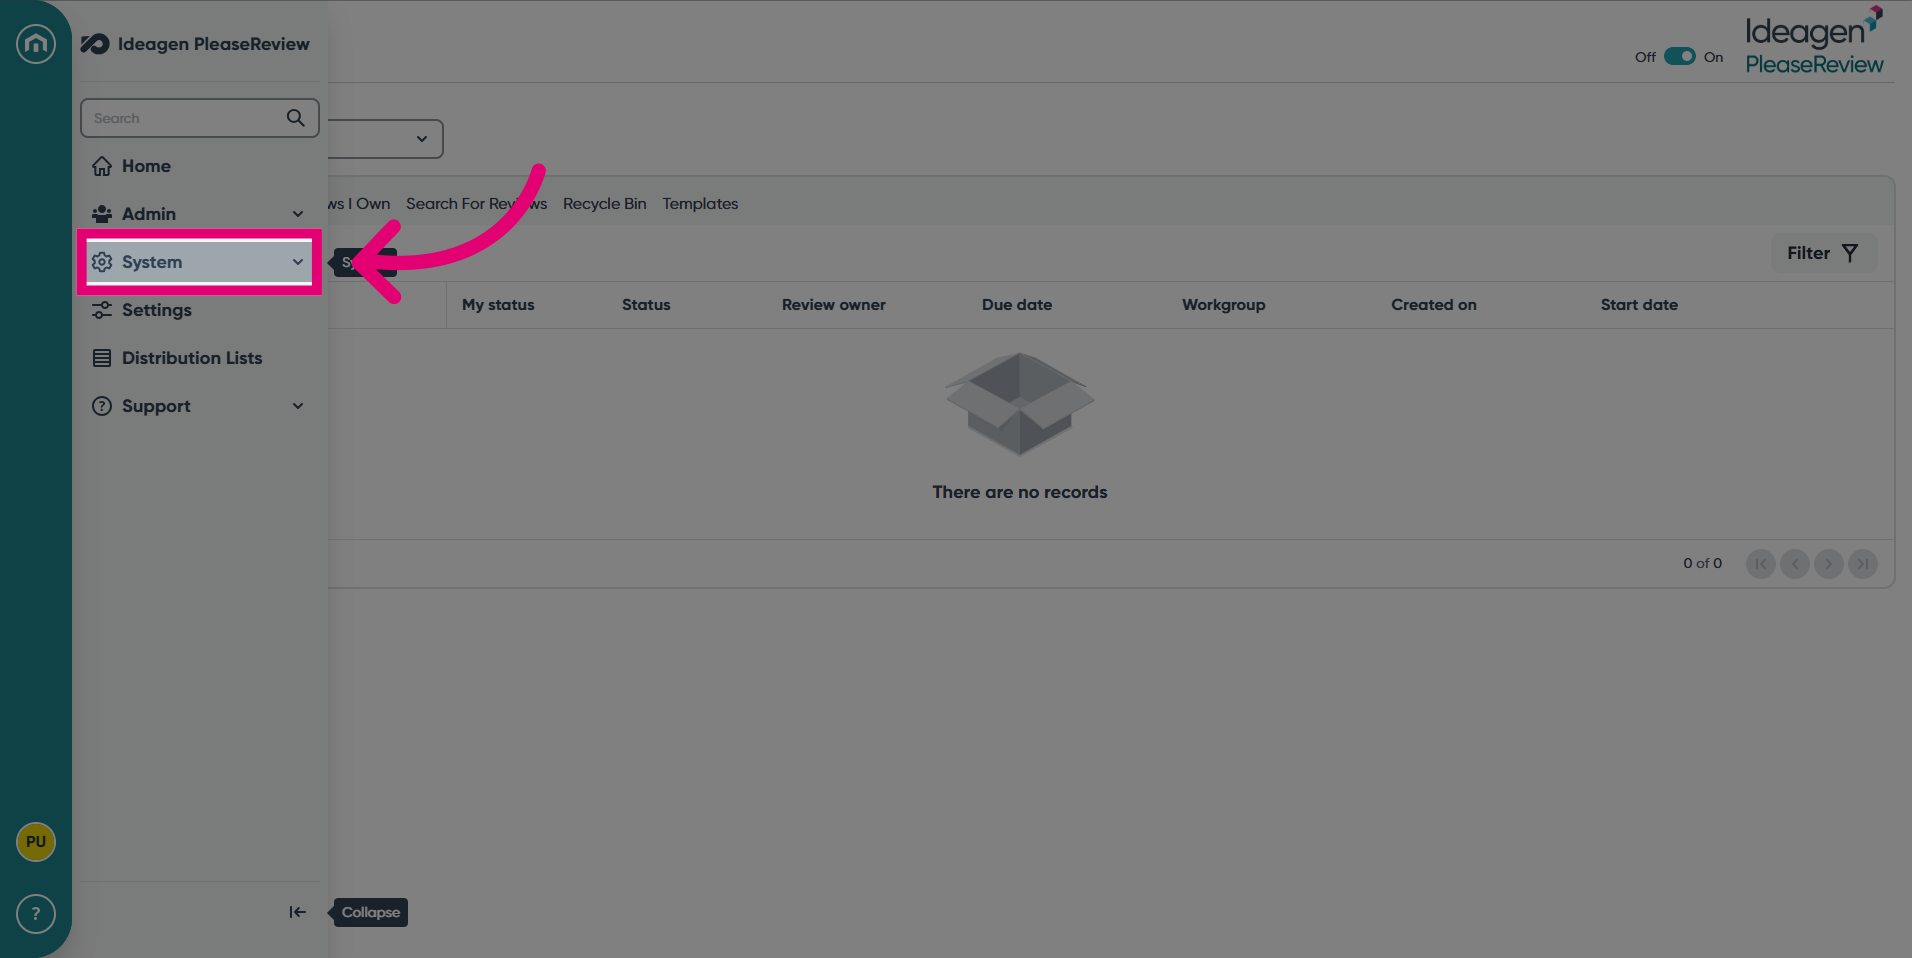
- Click the System tab.
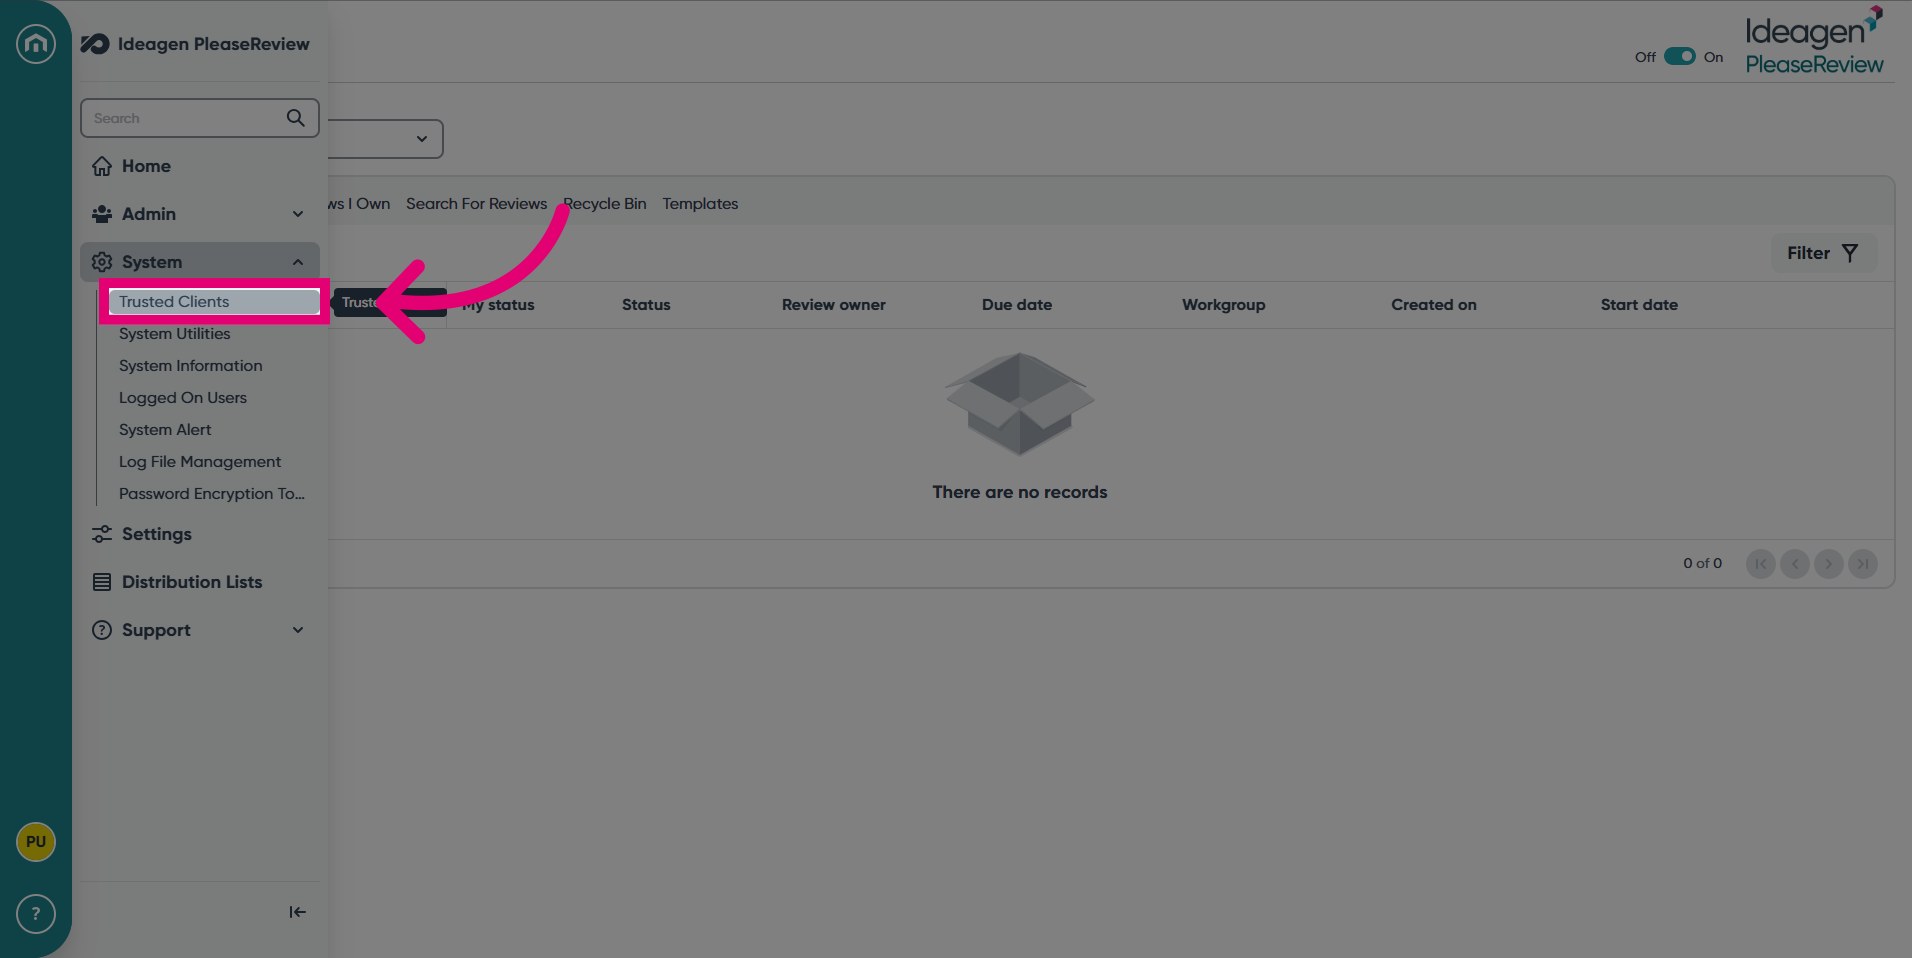
- Next, select Trusted Clients.
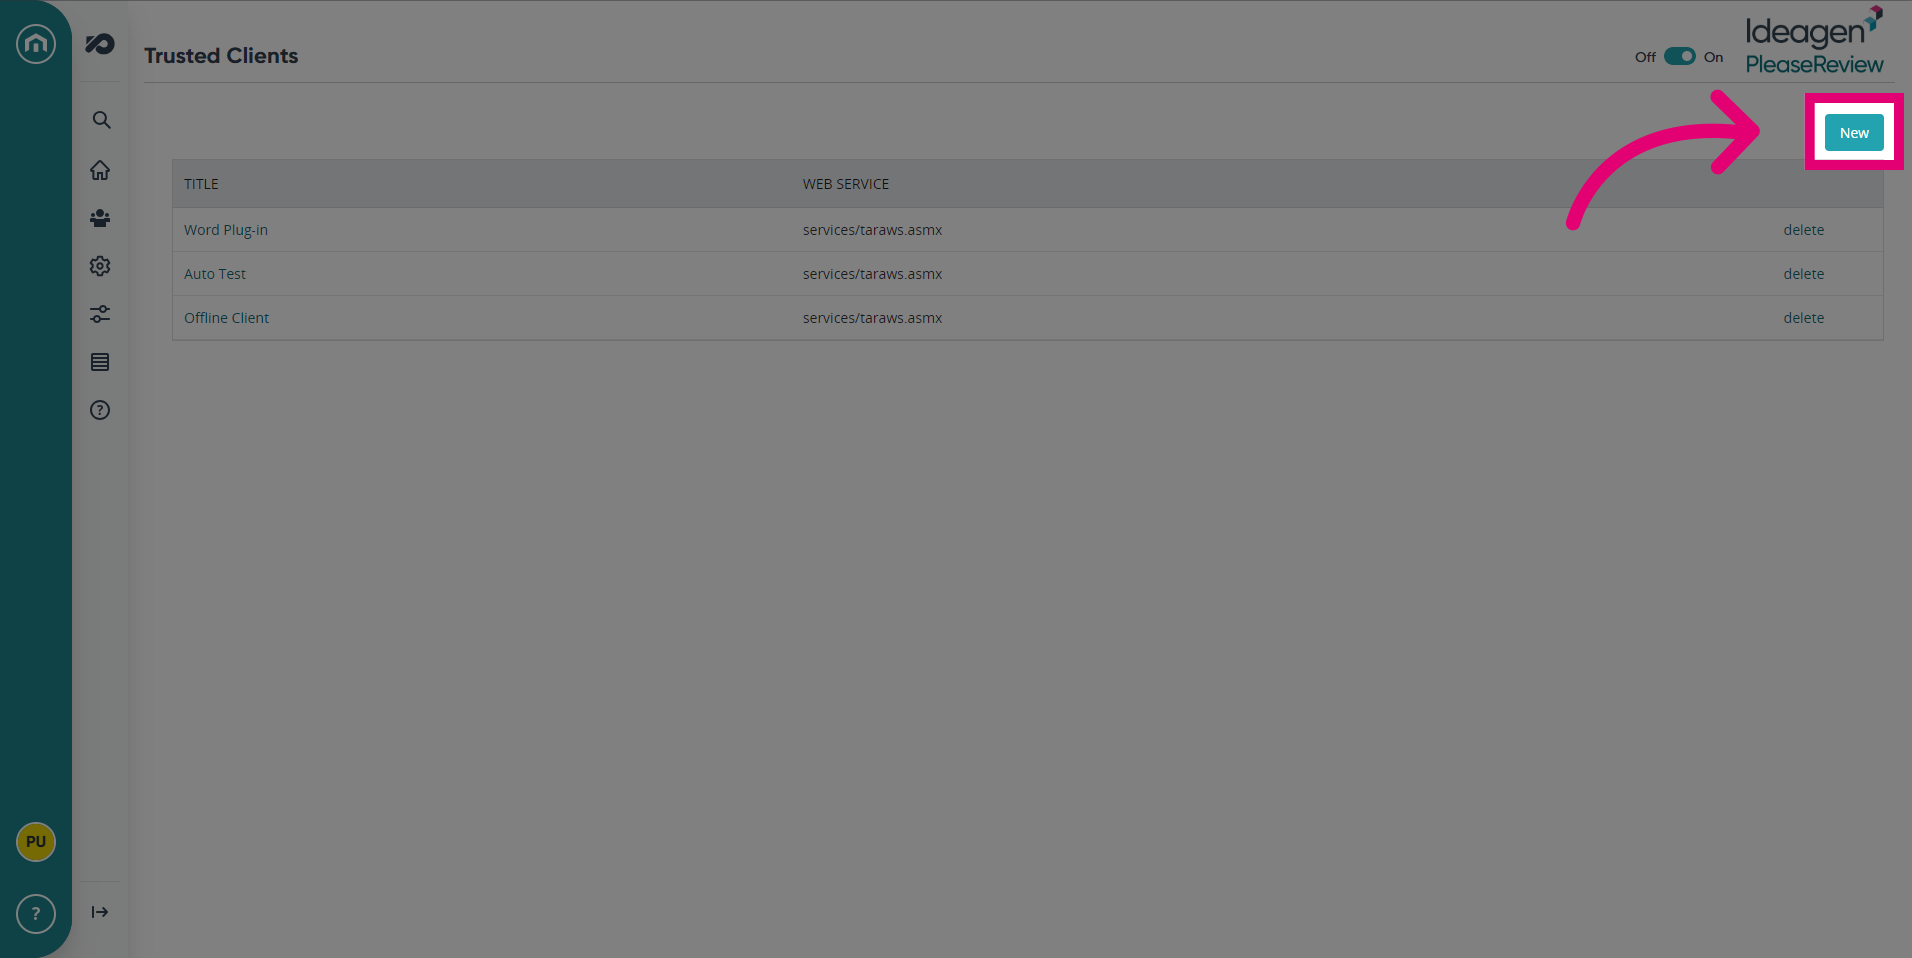
- To delete a Trusted Client, click Delete on the right hand side.

- To create a new Trusted Client, click New.
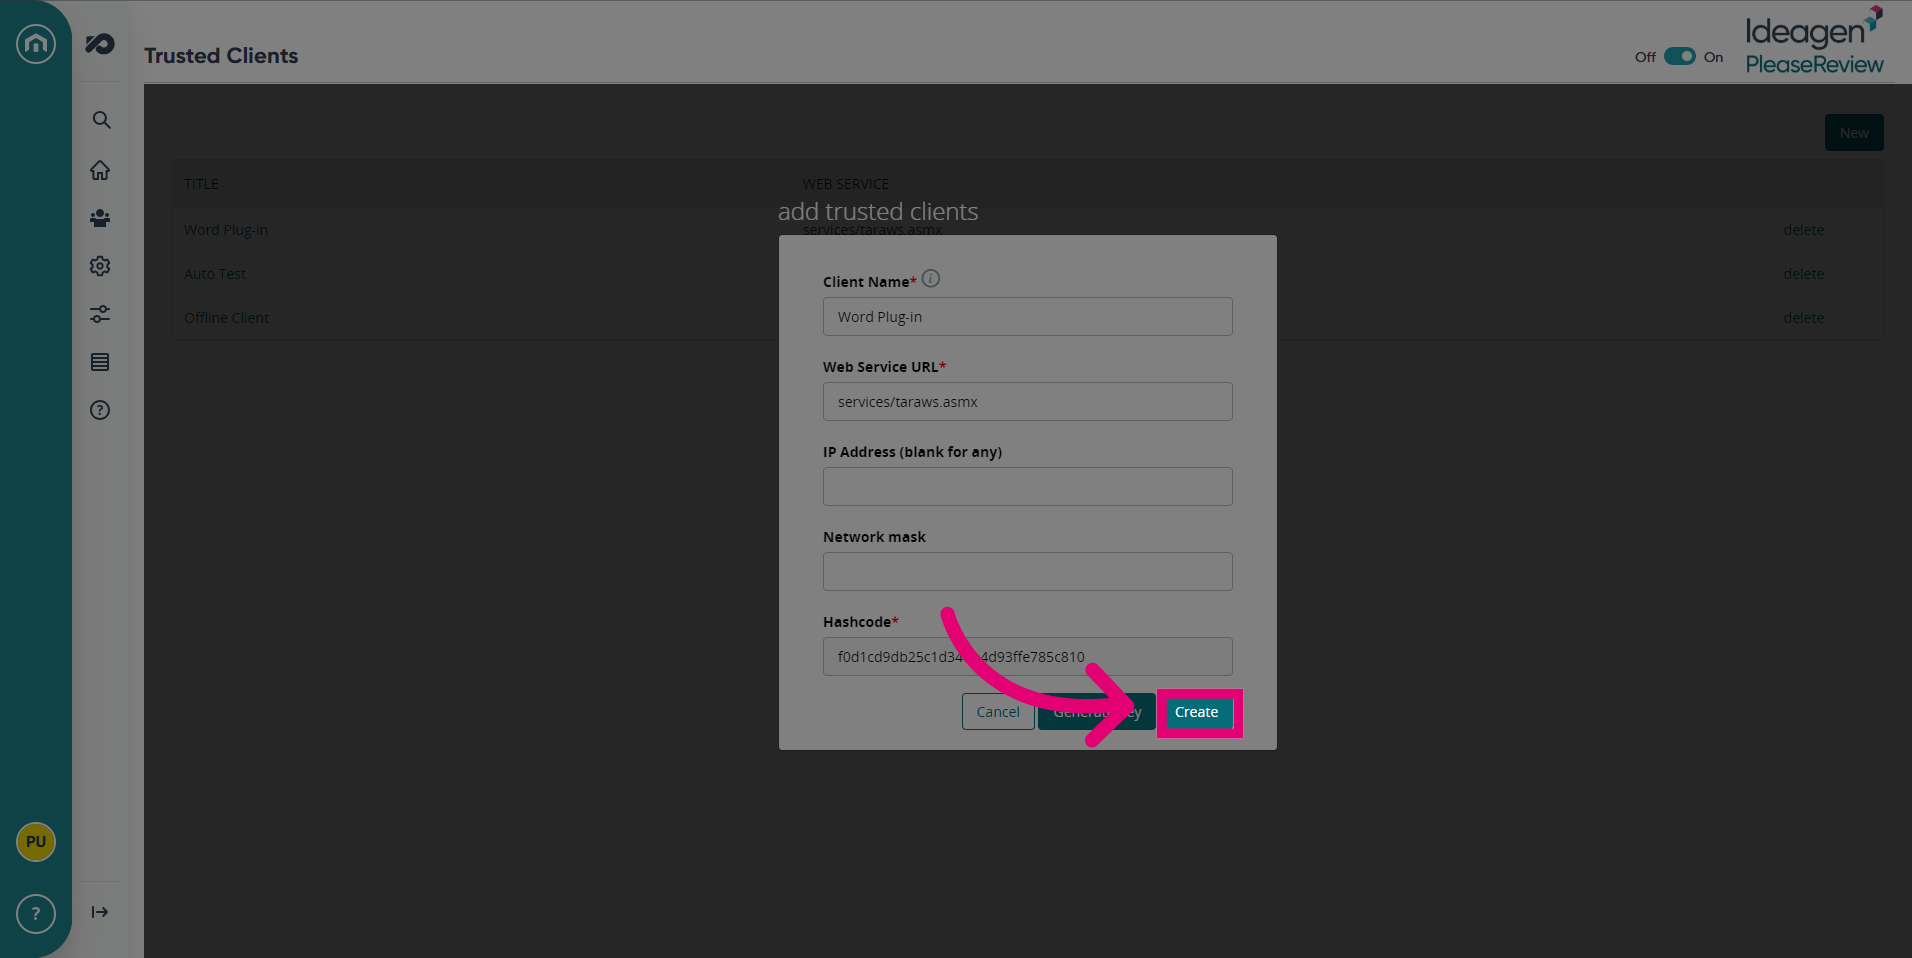
- Click Create to add a Trusted Client.
1. Trusted Clients
Trusted clients might be assigned special permissions, such as the ability to expedite reviews, access sensitive information, or collaborate more seamlessly. This feature aims to enhance collaboration and efficiency by recognising the trusted status of certain participants and tailoring their experience accordingly.
Important: If your Please Review installation needs to support the use of the Offline Client, the Word plug-in and/or the admin application, you must enable it to connect by adding in a Trusted Client access key.
- Click on Trusted Clients under Admin on the left-hand menu and the Trusted Clients screen will be displayed:
- Click on the Add New button and the ‘add trusted client’ screen will be displayed:
Here are a few things to note about Trusted Clients:
- If you wish to restrict the IP address range from which trusted clients can connect, enter the IP address and subnet mask in the normal notation (e.g. 10.3.0.0 and 255.255.0.0). If you want clients to be able to connect from any location, leave these fields blank.
- Alternatively, you can enter multiple IP addresses separated by spaces. When using this method, the addresses may be any mixture of IPv4 and IPv6.
- To use the default key, use the appropriate drop-down.
2. Using Custom Keys
- To create a new custom key, click Generate Key.
- The new key will need to be added to the appropriate trusted client.
Note: This functionality would normally only be used if a third party developed a custom client component.